

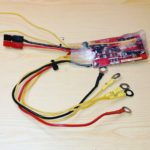
 Earlier today, I put out this picture on instagram, and included a question. “Who would like to see the step by step build video?”. Seriously didn’t see it coming, but I got an enormous amount of feedback, letting me know that we (the subscribers and I) are definitely going to dedicate the next couple of videos and posts to teaching you how to build your own portable power for qrp and qro radios, and why you might want to.
The first ever video I did on portable power for qrp radios was the qrp battery pack. I initially called it the Ultra Pack (actually that was a stupid name), but I eventually settled on the “diy qrp battery pack”. Even so, the pack was designed as a lightweight battery pack for portable amateur radios, like the Elecraft KX2, KX3, Yaesu FT-817ND, mcHF, …
Here were the features
- Simultaneous charge and discharge
- Low voltage protection
- Over-voltage protection
- Short circuit protection
- Individual cell balancing
- Weighed nothing, and fit in your pocket
My packs have all the same features you get in the battery packs from bioenno, tracer, … but it comes in a fraction of the price because you’re building it yourself. Building it yourself, you’re also assured of the quality of the parts and cells used inside of it . You can watch the original qrp battery pack here.
A new battery pack 10Ah
Before everybody starts flipping out about how complicated this might be, I’ll start by telling you all of these battery packs are almost identical. Technically there’s no difference between the qrp battery pack and this new pack that we’re going to build. The only difference between the original qrp battery pack and this new pack is the use of lithium iron phosphate cells (LiFePO4), rather than lithium ion from the original project.
Portable Power
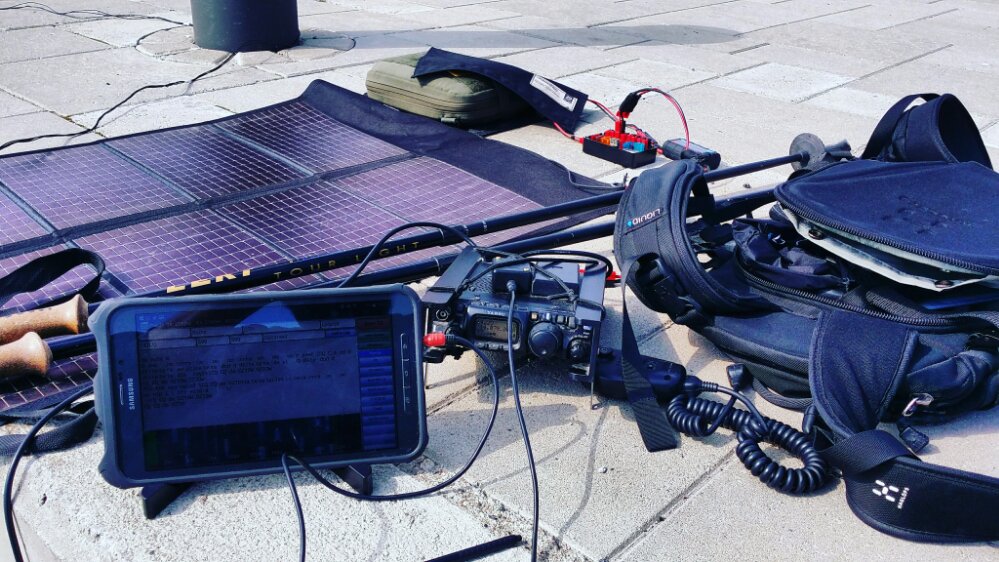
Before we get started please have a look at my video portable solar powered go kit for ham radio. Then if you’re still eager for learning read my introduction to the series portable off-grid power for amateur radio. This’ll put us all on the same page.
There are a couple of different reasons we want to use lithium iron phosphate batteries in the field. First of all they are incredibly lightweight. Secondly the usable energy versus their weight is much higher than that of traditional lead acid or AGM batteries. Why do we want to build our own battery packs instead of just buying them off the shelf? Well there’s a few different reasons for that but here are the most important
- To save money
- To save weight
- To maximize useable capacity
- To have a custom size
- To have a custom capacity
- To Integrate into a system
- Make component choices to alleviate RF interference
When you go out and buy the bioenno style battery packs, we’re getting what someone else decided was important for us (not always a bad thing). The technical decisions for these products were a balance of engineering versus maximizing profit. A bespoke build gives us the option a building without compromise. On the flip side, everything is already put together for us, encapsulated inside a nice housing, and seems to work pretty well. There certainly are pros and cons to building bespoke, or buying commercial. You’re the only one that can decide which one is right for your particular project.
With all that said I can think of two videos for this series right now, but there could be more. Both of these packs will be based on lithium iron phosphate cells. During the build process we’ll have the option of making parallel versions of these packs to double, triple, … their capacity.
- 10Ah lithium iron phosphate battery pack for field radio.
- 2.5Ah ultra light battery pack for qrp camping.
10Ah LiFePO4 based on Headway 38120 Cells
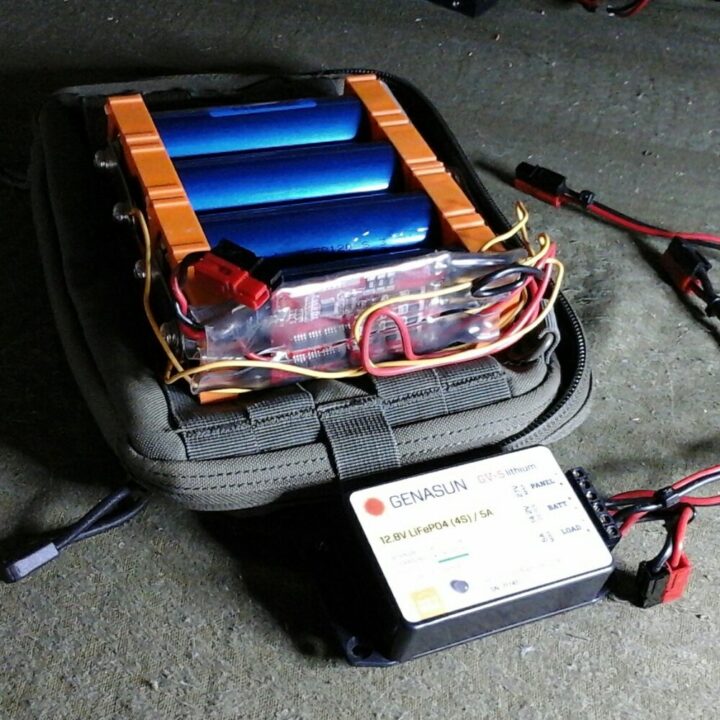
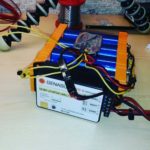
The 10Ah version is the big blue b*mb looking thing you normally see in my field ops since field day 2017. This battery pack has a different purpose than our small pack project. The 10 amp hour version is meant to power your radio as well as external peripherals like a tablet, a laptop, perhaps some LED lighting, … Like our small pack it is also designed to be continuously plugged in to one or more solar panels. At the moment I’m using this with my Yaesu ft-817, my Asus Eee PC for automatic link establishment, winlink, and keeping my tablet or smartphone charged up for casual comms.
Download the Headway 38120 technical specs
10Ah Headway based Parts List

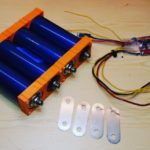
- 4x Headway 38120 8-15Ah cells
- 4x chromium plated copper jumpers
- 5x Ring plugs
- 4x 38120 spacers
- 10-30A 4S BMS for Lithium iron phosphate
- Red, black, yellow wire
- Solar charge controller (I’m using Genasun GV-5 14.2)
Cost
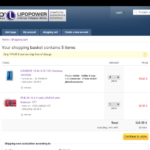
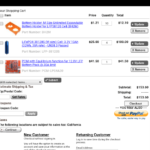
The raw materials for the 10 amp hour version come in at around a 153$ or 130€. The screen shots were taken from my favorite European and North American distributors.
Where to buy parts
- North America Batteryspace.com
– Headway 10Ah 38120– 12A BMS
– 30A BMS QRO
- Europe Shop.lipopower.de
–Headway 10Ah 38120 - eBay eBay Worldwide
– Headway 38120
– 10A BMS
– 16A BMS
– 30/40A BMS
2.5Ah 4S1P A123 using 26650 cells

The 2.5Ah version is based on A123 26650 LiFePO4 cells. This will be a small pack used for qrp camping, Rapid deployment, high speed low drag field radio where you’re not trying to stay on the air constantly. This will be a perfect lightweight small-sized battery pack for the Yaesu ft-817, the elecraft kx2, elecraft kx3, mcHF, X5105, Yaesu FT-857, … the trick to using this pack is having a solar panel connected to it constantly when using the radio. I know that sounds crazy and it’s different than some operators /companies promote. I assure you, i’ll explain it all in the video. All the components are already on the way, but this will definitely be the second video.
Varying capacity

Both of the packs we’re building on the channel can be set up as 4S1P, 4S2P, 4S1P, or more. Moreover, if you want to run qro with either of the packs, we’re building, we simply have to change out the BMS board, with one having a higher rating, eg 215A., 20, 30A, …
So, let’s get back out in the field.
Questions
Solar charge controllers
At the moment I’m using the Genesun GV-5 LiFePO4 Charge Controller. Doing the research for this article I find that there are other options available from Bioenno for those of you that are put off by the 5A Genasun. I haven’t tested the Bioenno solar charge controllers, but list them here for reference. I’ll certainly reach out to the company to see if I can get one of them here for a video tutorial and review.
Reset switch
One of the things that I didn’t show clearly in the video is how to install the reset switch on to the BMS. Thankfully I published a video last year on the original qrp battery pack, showing how to install the reset switch on the BMS. Here is that video.
Adding capacity
This question always comes up in battery builds.
There is only one single thing required to do when adding capacity. For example, if we want to double the capacity, we add another stack of identical cells in parallel. There’s no need for a second BMS. The parallel cells will balance each other, while the BMS will manage cell voltage of each group of cells. The BMS doesn’t care how many cells are actually on each balance port, provided they are within the BMS specs.
I’ll write this up in the episode notes in a day or two. I think it may also be a good idea to do a video tutorial dedicated to this topic.
QRO ugrade
Setting it up for QRO is incredibly simple. We only replace the BMS, for one which is rated at the required amperage.
I found several different BMS models for qrp to qro. They are listed in the episode notes. In hindsight perhaps I should have just spect the higher amperage rated BMS regardless of qrp or qro.
Regulated voltage
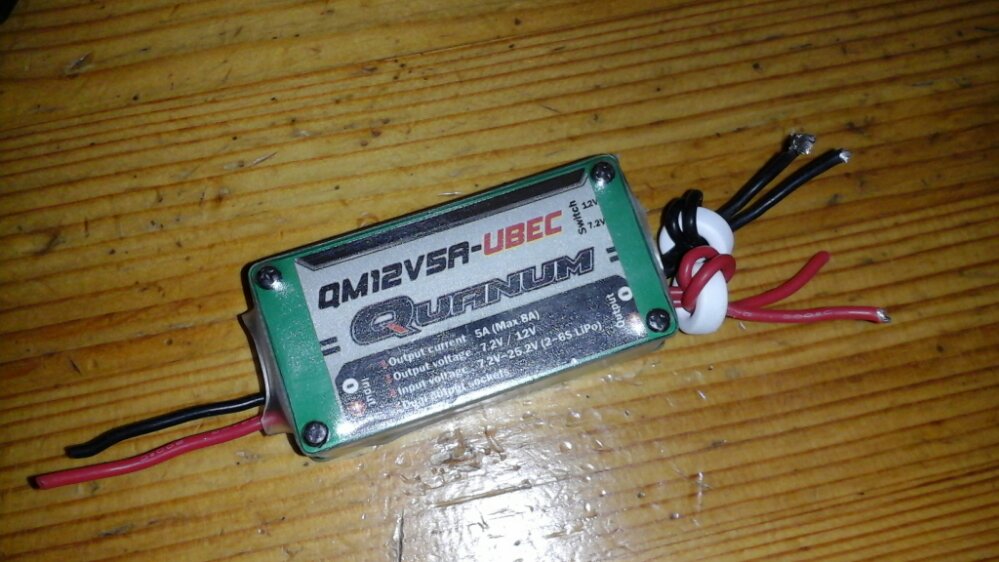 One operator asked about a stable voltage coming out of the battery. He said he had quite specific voltage requirements, as his device or radio didn’t have a broad DC input. There are a few different ways to solve this but with the original qrp battery pack, I used an UBEC to deliver constant and stable voltage out of that battery pack.
Charging
OH8STN, can you charge you battery pack with something else than the solar controller? If so what?
A: Sure you can. I don’t own a charger for these lithium iron phosphate packs. I use either my bench power supply or a constant current constant voltage buck to give 14.2v 1A to the pack. The BMS will shut off voltage into the pack when it gets too high but I prefer to use a voltmeter to watch it.
Bench charging: So you run the bench supply to the terminals, or do you go through the BMS?
A: We always go through the BMS. In fact we must think of the BMS and the individual cells as one complete system or pack. Even when we’re been charging we do so through the BMS since it is the only thing protecting the individual cells from human beings.
73
Julian oh8stn
