

Hello Operators
Last month I published the teaser video for the Ultimate Man Portable Magnetic Loop antenna build. The build utilises the DIY Magnetic Loop Starter Kit from Chamaeleon Antenna. Well, its time to have a look at the first prototype.
I’ve published the first build video and I thought it would be a great idea if I publish a page detailing all components, links, tools, and build ideas that have gone into making this video. The actual build is relatively simple, the preparation for the build, producing the video, … that is where all the time goes.
Join the DIY Magnetic Loop Antenna Group on Facebook

WSPR tests

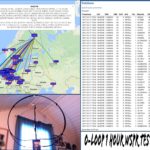
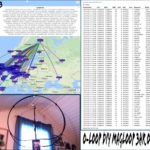
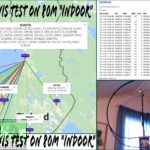
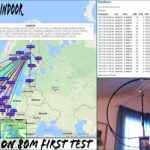
First things first. Does it work? Absolutely! Even with completely unfair tests, taken indoors, where we expect crap results. Now you can continue reading knowing the end will be worth the read. ? This test was an indoor test and proof of concept. Doing the test now (before the build went to far) just gives us more confidence to keep it going. I’ll publish field tests as time & WX conditions permit.
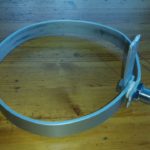
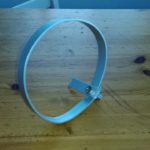
First prototype

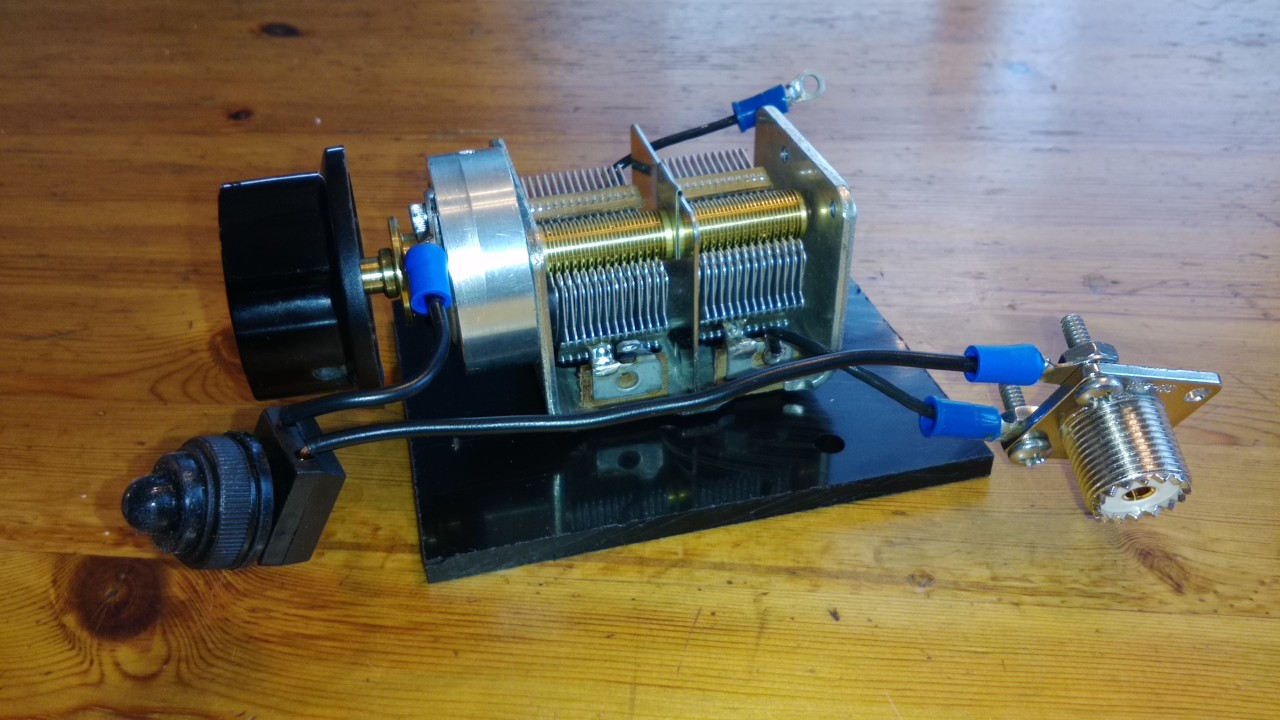
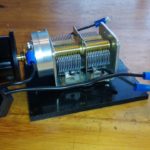
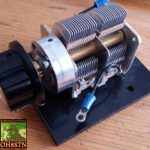
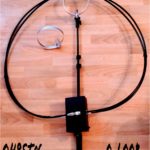
The photo above is an image of my first prototype. It’s not complete (I’m missing 1/4 inch tap) so I’m using the pickup loop from the P-LOOP until the tap arrives. I call it the O-Loop (O for Open). Naturally it’s based on the Chameleon magnetic Loop starter kit. I’ve chosen to modify my build, preferring a double turn loop for 80, 60, 40M, with a switch to optionally use a single turn 40-10m loop like the Chameleon P-LOOP.
The build video will feature options to build my version above, or the standard 40-10m version the kit was intended for. The builder is given enough information to build either, and has the option to choose.
Specs
- 40-10M single loop based on the Chameleon P-LOOP
This is the build most operators new to loop building will be interested in. It is a single turn collapsible loop for the portable operator. It can be build as simple or as complex as the operator desires. The only real requirements to get started are an enclosure, mast, and DIY pickup loop. Kept simple, it’s is very forgiving design.
This is based on the Chameleon P-LOOP - 80, 60, 40M Double loop convertible (Cap Mod)
These days my primary band for data communications is 40M, so my personal build is a collapsible, 2 turn loop, operating on 80, 60, 40m. This loop requires a minor modification to the tuning capacitor, switching it from two gangs in series, to a parallel configuration. Also rather than just jumping the frame and output, I wired in a switch, so that I could switch back and forth between 80-40m double loop, and 40-10m single loop.
This build is based on aspects of the Chameleon F-LOOP and Chameleon P-LOOP
Tools for the build
Lots of people are freaking out about the special tools required to build a loop (or any antenna actually), but I can tell you, the tools for this build are quite modest. In fact, I purposely did this build with the basic tools almost any ham radio operator has around the house. It doesn’t look like a polished perfection of a well-engineered loop, but it works and that’s what’s important!
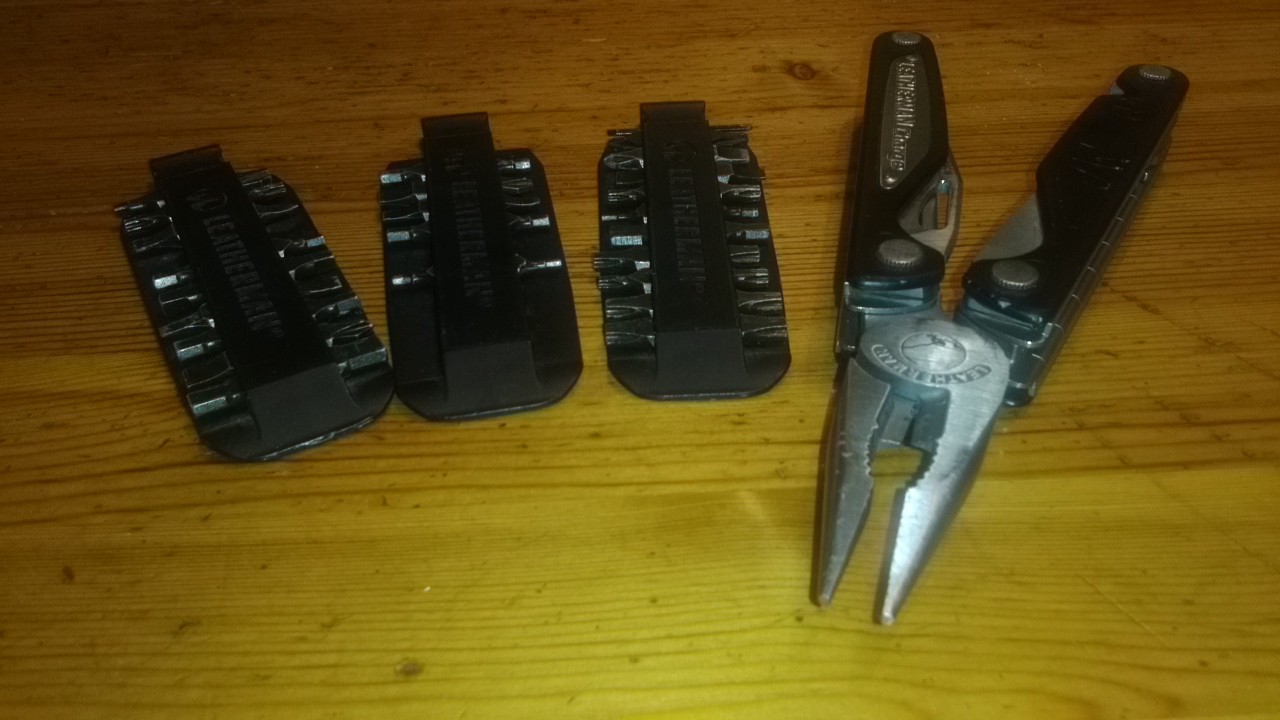 Leatherman Charge was used to file the aluminum stock, smooth out the edges, and crimp the ring connectors before soldering. It was also used to etch marks on the enclosure to guide pilot holes.
Soldering iron was used to attach the ring connectors to the switch and jumper wires. Always solder and crimp! The soldering iron was also used to install the PL-259 connectors to the LMR-400 (Note: You’ll have to decide if you’re going to short the LMR-400 in the connectors, or short the SO-239 on the enclosure. One or the other must be done to make use of the entire LMR-400 inner conductor and shield).
Dremel and cordless drill were used to make pilot holes and mounting holes through the enclosure.
Bending press Actually NO.
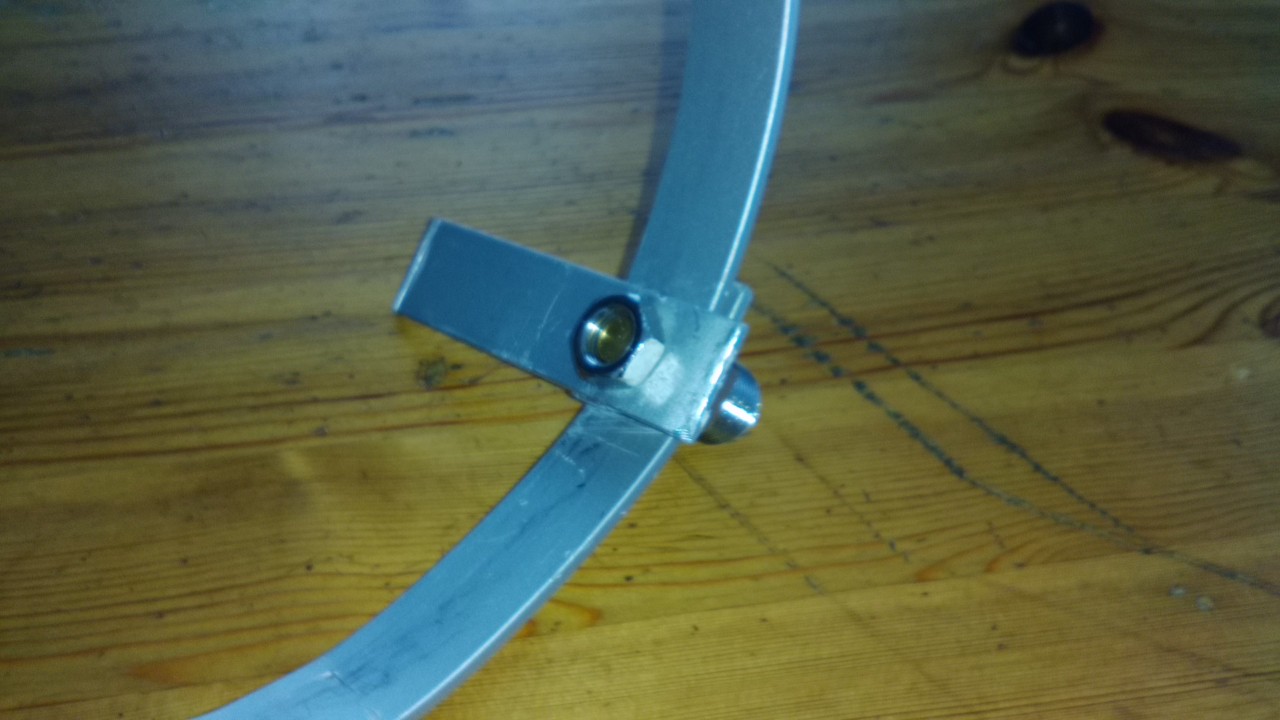
I have no bending press so to make the pickup loop from aluminum I found a birch tree with around the same diameter that I wanted and simply bent the aluminum around it until it was roughly the right size. I then drilled holes for the so-239, used a nut and bolt to lock to pickup loop at the right size, then heated the pickup look on the sauna rocks in my home. After heating it up for a while, I dropped it in the snow which released the tension and formed a “somewhat imperfect but close enough” circle form.
Measuring tape measurements are critical on a loop build, so is a good measuring tape. All measurements giving are outside diameter.
Build notes
Starter Kit
A message from Chameleon Antenna:
One thing that is VERY important to mention is the fact that when manipulating, soldering or screwing nuts around the capacitor, it’s PRIMORDIAL to protect the closed plates that create the capacitor as they’re EXTREMELY fragile. NEVER install an opened capacitor because you’ll break it!!!
Any crafting dust, gentile hit or the simple soldering flux particles falling on the plate might literally KILL the capacitor. The plates are about 0.020″ from each other. Changing the distance between those plates might cause arcing a low power, shorts, high SWR at certain frequencies and reduce the overall performance of your loop. When you’re done working on the loop for the day then place the tuning box face down on your desk to prevent stuff to get in.
It’s important to underline that the capacitor that we’re providing in the DIY KIT is the same that we’re using in our CHA F-LOOP, P-LOOP and the incoming CHA P-LOOP 2.0
Those variable air capacitors are US made and TOP quality. They aren’t the ones that you see on Ebay or small online retailers! They’re VERY expansive to manufacture. We’ve been able to offer them to you at a very reasonable price because of our purchasing power. We’re buying them several hundreds at the time!
Cheers,
Carl Lavoie owner of Chameleon Antenna
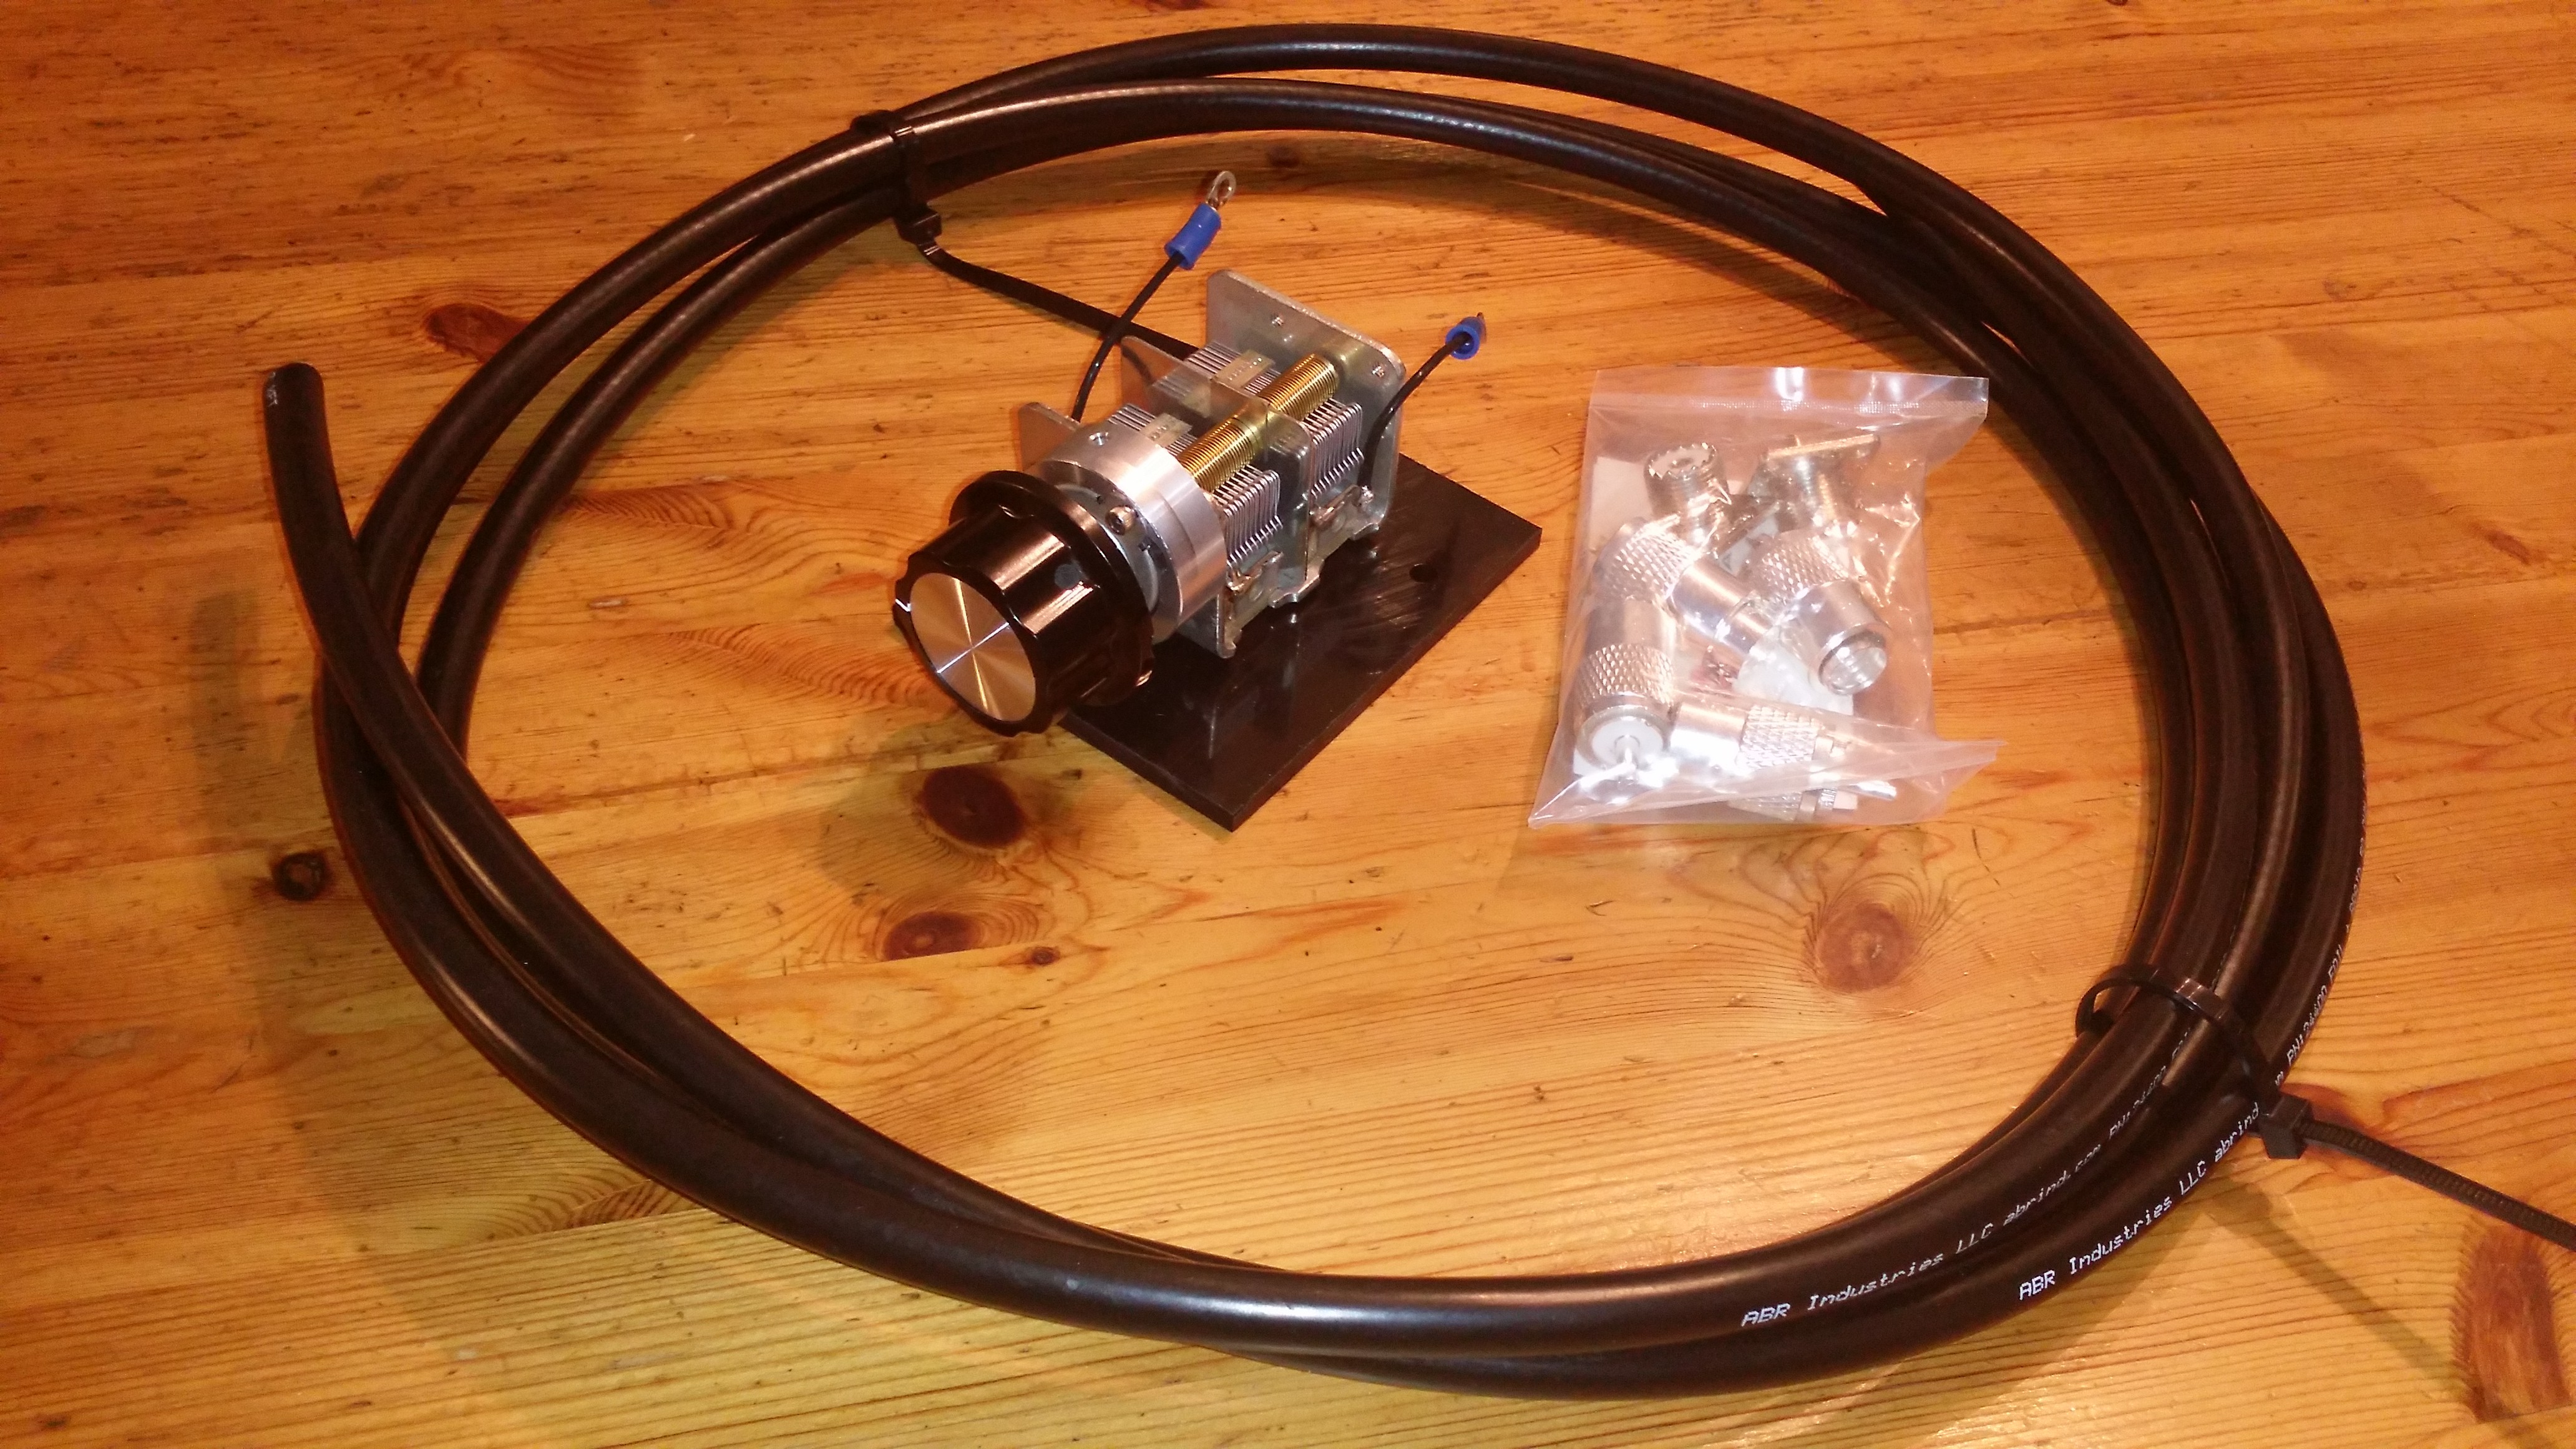 The starter kit includes the Capacitor with a 6:1 reduction gear installed. It’s already wired and soldered making this the perfect kit for the beginner. It includes enough LMR-400 for a main loop and pickup loop if building the 40-10M version of the man portable loop.
The Magnetic Loop Starter kit includes:
1 X PRE-ASSEMBLED CAPACITOR
- 600 Vrms MAX
- 12.5 pF MIN – 432.5 pF MAX PER SECTION
- 2 SECTIONS TOTAL
- 6:1 DRIVE (3 TURNS MIN TO MAX) INSTALLED
- TWO WIRES PRE-SOLDERED WITH TERMINALS
- CAPACITOR INSTALLED ON A PRE-DRILLED MOUNTING PLATE
- KNOB INSTALLED
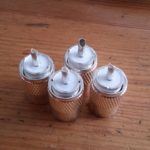
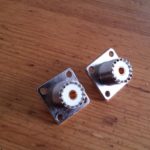
1 X 12′ LMR-400 4 X SILVER PLATED PL-259 2 X SO-239
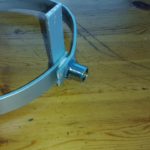
Pickup Loop
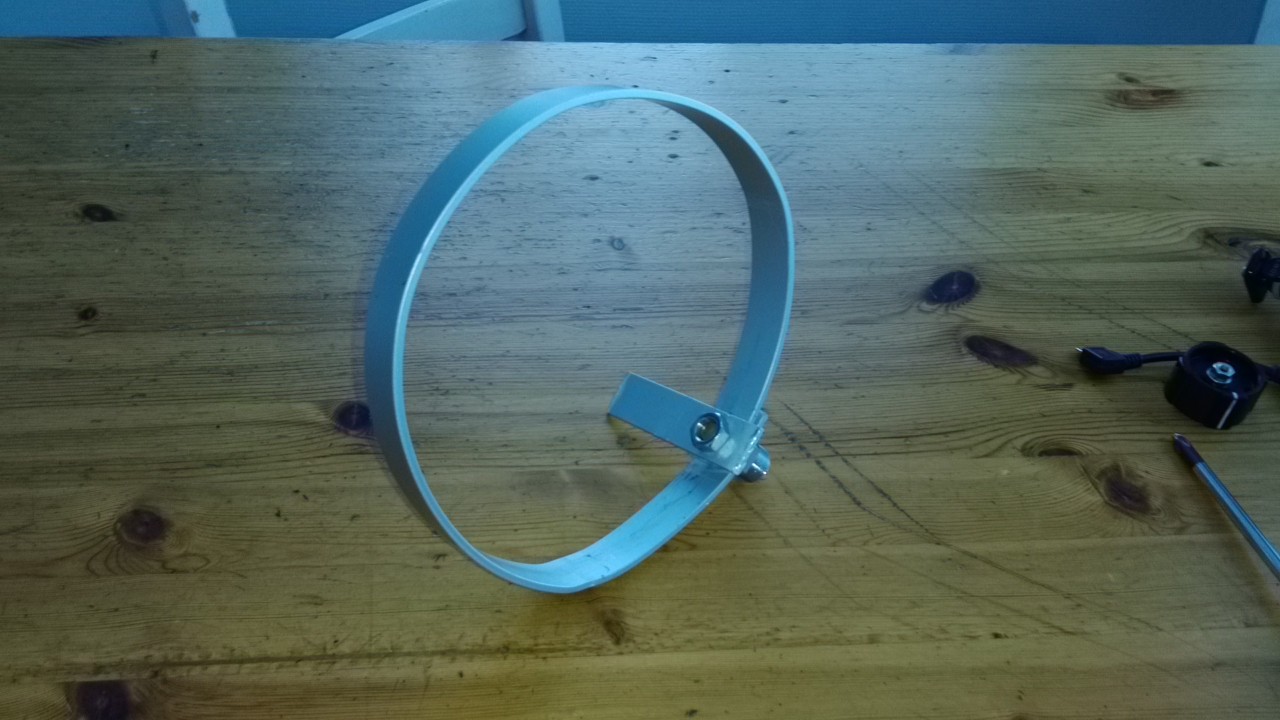 For the pickup loop, I used T6 aluminum bar stock. I didn’t have a bending press but it would have made life easier. Either way, there are several options for making the pickup loop.
- Aluminum Bar stock Use this if your pickup loop must also support the weight of your main loop. You can usually find this is metal supply shops. Care though, hardware stores (in my area) don’t stock T6, it’s usually some sort of pot metal, so be certain you know what you are buying.
- LMR-400 This is included in the Starter kit, Use this if your support mast is rigid! Also If you are building the 40-10 meter version, there is enough LMR-400 in the kit to make both your main loop and pickup loop. However, if you want the pickup to support the weight of the main loop, you’ll have to come up with a better way. (Please share what you come up with)
- Thick copper wire This is cheap and easy, but has the same benefits/problems as using LMR-400 above.
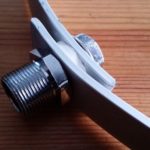
 SO-239 termination. I used a SO-239 adapter to terminate my pickup loop for my PL-259.
Capacitor Mods (80, 60, 40m version only)
The cap mod can be done on two ways. If you have no interest in 40-10M then a jumper can be used between the frame and capacitor output.
If you would like the convertible version (like mine) use a properly voltage rated switch between the frame and capacitor output to switch between series and parallel mode. This will enable the use of either a single main loop for 40-10m, or a double loop for 80, 60, 40m.
Main loop
Cable for the main loop (if building the basic 40-10m loop) is all included in the Starter kit. There is enough LMR-400 to make the main loop and pickup loop without having to buy any more LMR-400. (Note: You’ll have to decide if you’re going to short the LMR-400 in the connectors, or short the SO-239 on the enclosure. One or the other must be done to make use of the entire LMR-400 inner conductor and shield).
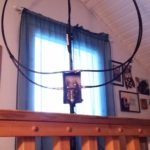
Support mast
The support mast can be a variety of things. Like the chameleon P-LOOP, I’m using a telescopic camera monopole. This helps reduce the breakdown size of the loop for man portable field operations. It is also possible to use a rigid support mast for example, a broomstick, or perhaps a fibreglass pole.
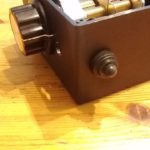
 – Enclosure The enclosure is a critical point of your loop build. It protects your loop, and provides a rigid point for mounting the support mast, and main loop attachment points. It’s pretty important not to use brittle or soft plastic crap. I’m using a polycarbonate enclosure, which won’t get brittle in cold temps. I found the internal measurements of L110mm, W100mm H65mm a comfortable fit for the starter kit enclosure. The enclosure you see in my build is not my final inclosure. It is just used to make the video, since my selection of enclosures is rather limited near the Arctic Circle!
Questions from operators
Making pickup loop with T-Connector

TX Rating
Q. Rob asked about the TX rating of the capacitor in the YouTube comments.
a. The capacitor is exactly the same as used in the Chameleon P-LOOP, F-LOOP and P-LOOP 2.0. Those Magnetic Loops are rated for 10w CW, and 25w SSB. As a mostly data operator, I have been successful with 10w on digital modes with 100% duty cycle.
Bigger loop diameter
Jose mentioned in a comment on YouTube that a bigger loop is a more efficient loop. He also mentioned using a center support to stop a larger loop from sagging.
A. Absolutely correct! Larger loops are certainly more efficient. However, when we are taking about a man portable loop, a center support might not be practical. Our goal is to build a loop which is lightweight and easy to deploy.. If we must carry additional gear to erect a larger more efficient loop, the benefits of the small loop is lost. Of course if someone comes up with a larger loop design which doesn’t sag, e.g. LMR-600 based loop. That might be slightly heavier, but still easy to deploy without additional supporting structure. For now, I will personally rely on the 2-turn loop for greater efficiency
Questioning the price of the starter kit
A hater (K5TED) from qrz/com had this to say

Actually, it is possible to find similar looking parts separately from ebay or other China-made sources. However, the best price I have found for the exact same capacitor (without the 6:1 speed reducer) was 70$. Add the reduction drive, coax cable, connectors, then add up the shipping charges of acquiring them individually, and you’ll find, the price is not actually that bad. Moreover, it is especially rewarding to know, I am building with a capacitor which is also used in iconic magnetic loops used around the globe.
In the end, grumpy old ham radio haters are going to hate!
Sourcing Components
– Support mast
– Coax adapter
– Enclosure
– Switch (for convertible 80, 60, 40/40-10M version)
– Ring connectors
– T6 Aluminum stock
DIY Magnetic Loop build Video Playlist
The following playlist has all of the related build videos in the series. If you decide to build using this kit, please send me a YouTube video of your build, or just images and build notes so I can share them here on this page as well.
Thinking about this build, I realised, its pretty easy to build some giant thing made of plumbing parts. It’s entirely something else to make a small, practical, man portable loop.


This page will be updated with images and details about my build.
Thanks for stopping by
de oh8stn

Yes there is a military background there so where ? We can call it “people-portable” “human-portable” too ?